


How to Layer Necklaces Without Tangles: Lengths, Necklines
You pull out your favorite necklaces to create a layered look. Five minutes later they're twisted into a knot and sitting exactly where you don't want them. You adjust them throughout the day until you give up and take one off. Sound familiar? Tangled necklaces and awkward bunching kill what should be an effortless style move.
The fix is easier than you think. Layering necklaces comes down to choosing the right lengths for your base pieces, mixing textures that complement each other, and matching your stack to your neckline. When you get these three things right, your necklaces stay put and look intentional instead of messy.
This guide walks you through exactly how to layer necklaces without the frustration. You'll learn which length combinations work best, how to balance delicate chains with bolder pieces, and which necklaces pair with different shirt styles. We'll also cover practical hacks to keep everything tangle free so you can wear your layered look all day. By the end, you'll know how to build stacks that look put together and actually stay that way.
What makes a good necklace stack
A successful necklace stack needs three core elements: visible space between each piece, balanced weight, and pieces that enhance rather than compete with each other. You want your eye to catch each necklace individually while still seeing them as one cohesive look. When any of these elements is missing, your stack falls apart or becomes uncomfortable to wear.
Visual separation
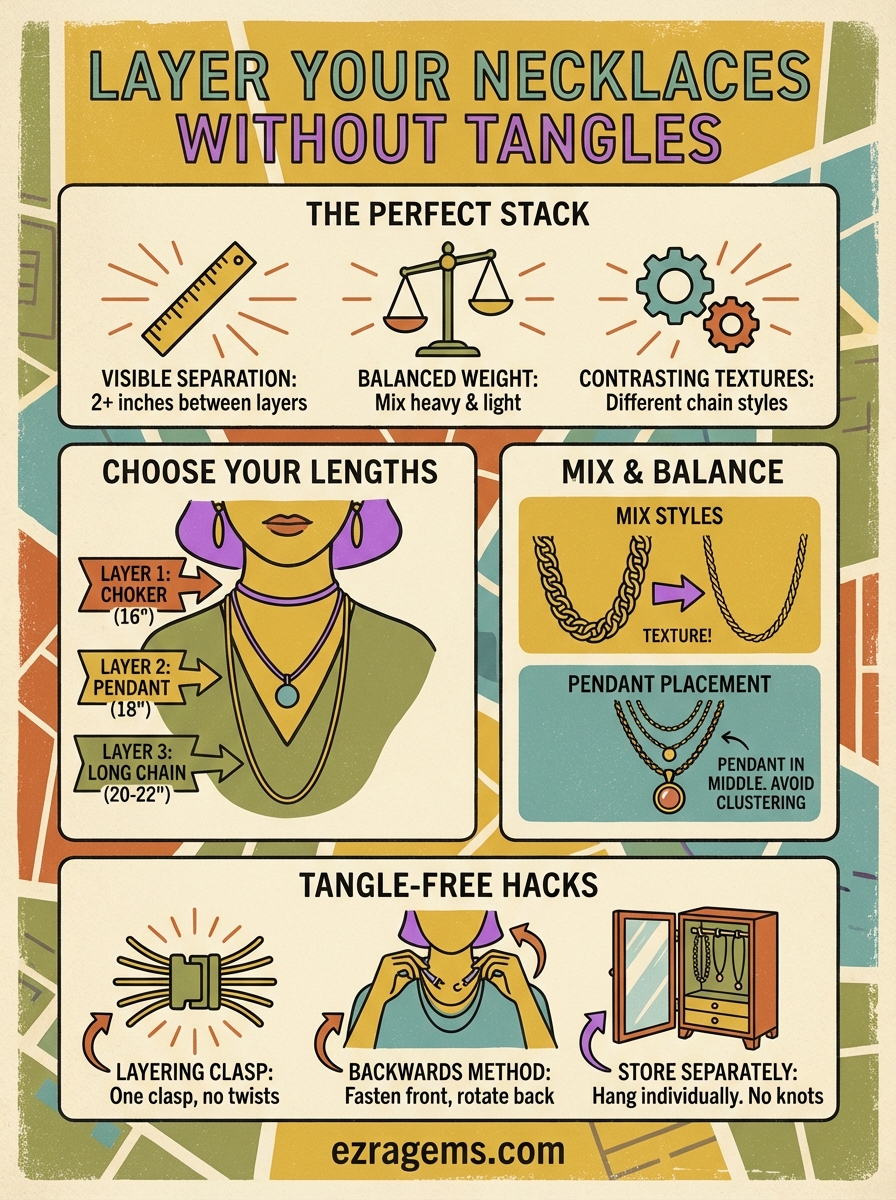
Your necklaces need at least two inches of space between each chain to create clear layers. This separation prevents pieces from tangling and gives each necklace room to shine. You accomplish this by selecting chains that fall at different points on your chest. A 16-inch choker paired with an 18-inch pendant and a 20-inch chain creates the clean progression you're looking for.

Each necklace should occupy its own visual zone without crowding the piece above or below it.
The spacing also depends on your pendant sizes. Larger pendants need more room, so you might want three or four inches between layers when working with statement pieces. Delicate chains can sit closer together because they take up less visual space.
Weight distribution
You need to balance heavy and light pieces throughout your stack to avoid neck strain and prevent chains from pulling oddly. Start with your heaviest piece as either the top or bottom layer, then build around it with lighter chains. This approach keeps the weight distributed instead of concentrated in one spot.
Mixing weights also creates visual interest. A chunky gold chain paired with two thin chains produces better contrast than three identical chain styles. Your stack should feel comfortable after wearing it for an hour, not like something you need to adjust constantly.
Step 1. Choose your base lengths
Your base lengths determine whether your stack looks intentional or accidental. Start by selecting three specific necklace lengths that create natural separation on your chest. The standard starting point is 16 inches, 18 inches, and 20 inches. These measurements work for most people because they position necklaces at your collarbone, just below your collarbone, and mid-chest.
The three-layer formula
The most reliable way to learn how to layer necklaces is to build your stack from shortest to longest. Your first piece should sit at your collarbone (14 to 16 inches), your second piece should fall two inches below that (18 inches), and your third piece should land at or just above your sternum (20 to 22 inches).
When you maintain consistent two-inch gaps between layers, your necklaces stay separated and create clean visual lines.
Avoid these length combinations that cause tangling: 16 inches with 17 inches (too close), three pieces all between 18 and 20 inches (they bunch together), or any combination where pendants end up at the same drop point. You want clear separation, not a clustered mess at one spot on your chest.
Here's a practical starting guide for your first stack:
- Layer 1 (base): 16-inch chain or choker
- Layer 2 (middle): 18-inch pendant necklace
- Layer 3 (longest): 20 to 22-inch chain
Adjusting for your proportions
Your height and body frame affect how these standard lengths sit on you. If you're petite (under 5'4"), subtract one to two inches from each measurement. A 14-inch, 16-inch, and 18-inch combination prevents necklaces from hanging too low on your frame. Taller people (over 5'8") can add one to two inches to create proportional spacing.
Test your lengths before committing to a full stack. Put on your shortest necklace and see where it falls. Add the second piece and check that you see clear space between them. Your third layer should hit below the second without making the whole stack feel too long. If pieces sit at the same point or bunch together, swap one out for a different length.
Neck length also matters when choosing your base. People with longer necks can start with a 14-inch choker without it feeling tight, while those with shorter necks should begin at 16 inches for comfort. Your jewelry should enhance your features, not create pressure points or visual awkwardness.
Step 2. Build texture and balance
Once you establish your base lengths, you build interest through contrasting textures and weights. A stack of three identical thin chains looks flat and forgettable, even if the lengths are perfect. You create depth by pairing different chain styles, mixing smooth with textured, and balancing statement pieces with simpler designs. This step transforms your layers from technically correct to visually compelling.
Mix chain styles and weights
You want to combine at least two different chain types in your stack to create visual texture. A rope chain paired with a delicate cable chain produces better contrast than two cable chains. The difference in surface texture catches light differently and gives your eye more to notice.
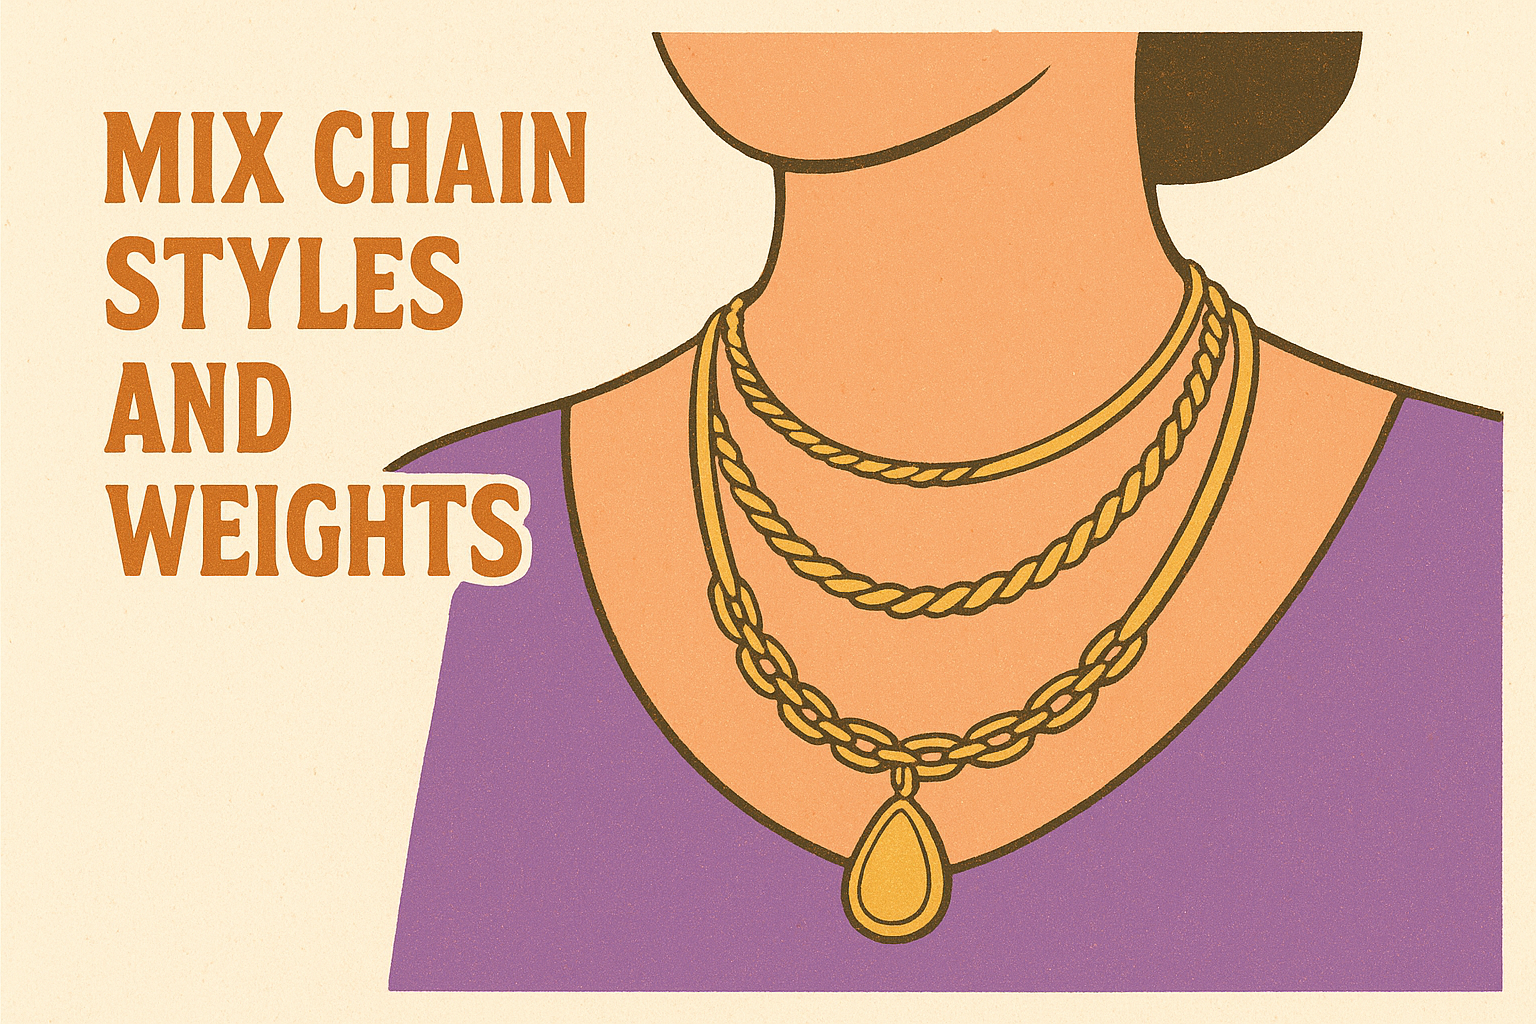
Start with one statement chain as your anchor piece. This could be a chunky curb chain, a paperclip link style, or anything with substantial presence. Build around it with thinner, simpler chains that complement without competing. Your ratio should be roughly one bold piece to two or three delicate pieces.
Here's how to pair chain weights effectively:
- Choker layer: Thin snake chain or delicate cable (1-2mm width)
- Middle layer: Medium box chain or rope chain (3-4mm width)
- Longest layer: Paperclip or curb chain (5-6mm width)
Avoid stacking three heavy chains together. The combined weight pulls on your neck and creates a cluttered look. One substantial piece per stack is your maximum unless you specifically want a bold, maximalist style.
Balance pendants with plain chains
Understanding how to layer necklaces means knowing when to add a pendant and when to keep it simple. Place your pendant on the middle layer where it gets maximum visibility without crowding your other pieces. Your top and bottom layers should be plain chains that frame the pendant.
A pendant needs breathing room on both sides to become the focal point of your stack.
You can layer two pendants only if they differ significantly in size. A small charm on your 16-inch chain paired with a larger pendant on your 20-inch chain works because they occupy different visual spaces. Two similar-sized pendants at 18 and 20 inches compete for attention and create visual confusion.
Match your pendant style to your chains for cohesion. A geometric pendant pairs well with structured chain styles like box or snake chains. Organic, irregular pendants look better with rope chains or cable chains that have a softer appearance. Mixing a dainty heart charm with a chunky industrial chain creates jarring contrast instead of intentional styling.
When you add a pendant to your stack, reduce the number of total layers. Three chains plus one pendant often looks more balanced than four chains plus one pendant. The pendant adds enough visual weight on its own.
Step 3. Fit layers to your neckline
Your neckline determines which layer gets the spotlight and how many pieces you can comfortably wear. A crew neck sweater covers different real estate than a V-neck dress, so your stack needs to adjust accordingly. When you match your layers to your neckline, you avoid buried necklaces and awkward bunching. This step ensures every piece you put on actually shows up in your final look.
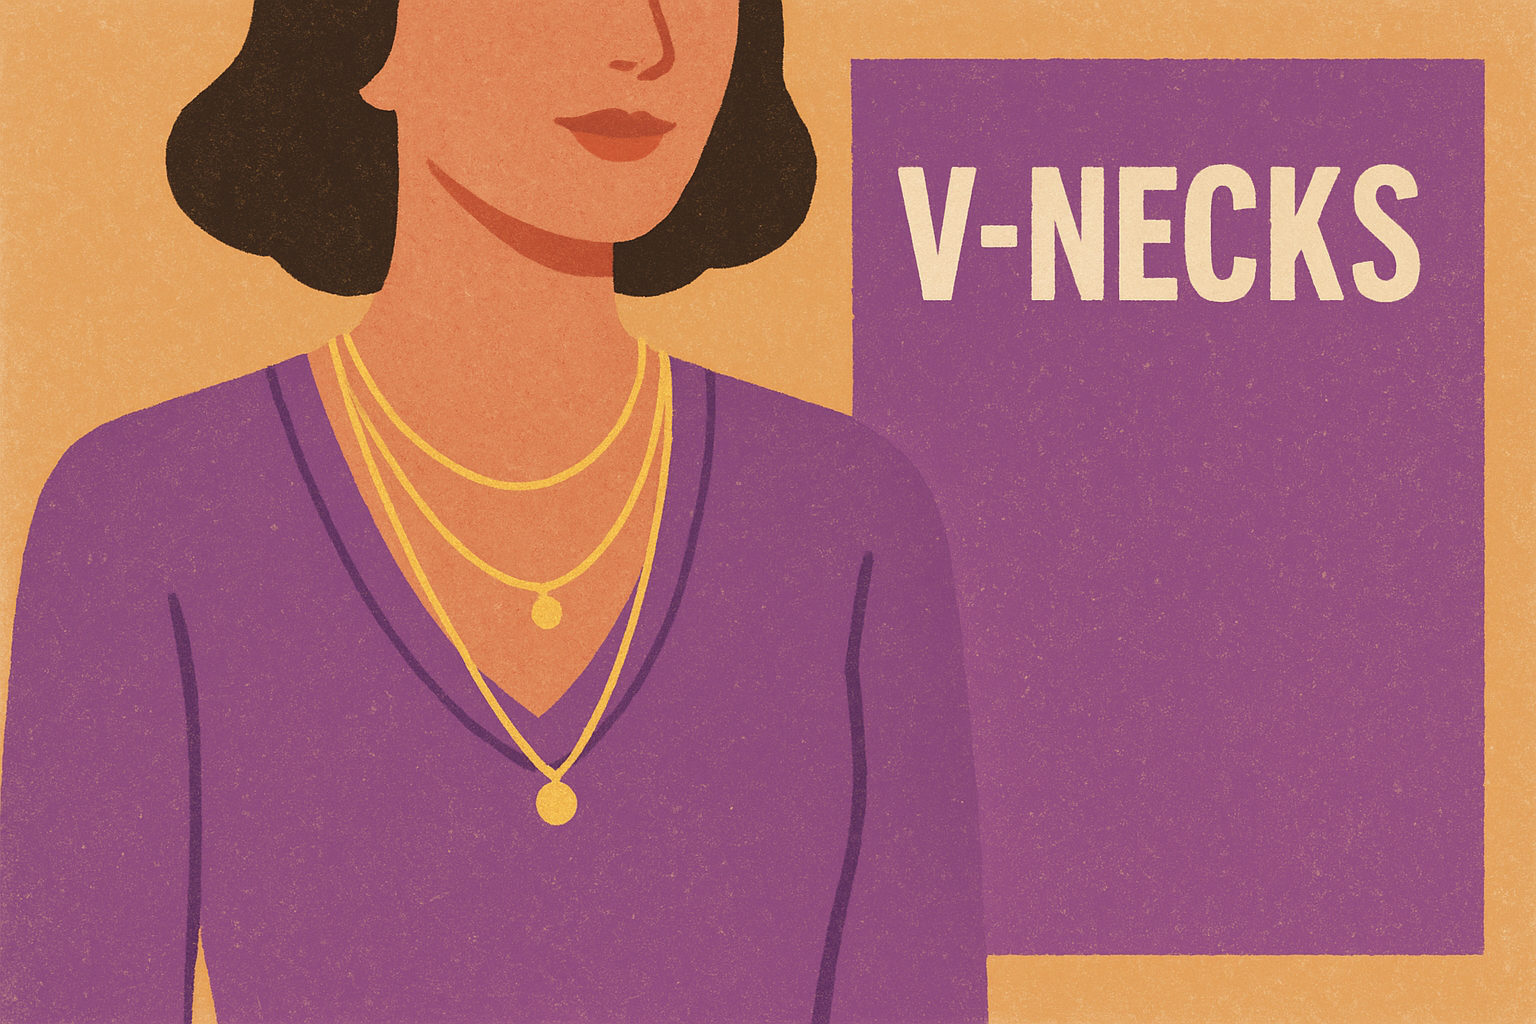
V-necks and scoop necks
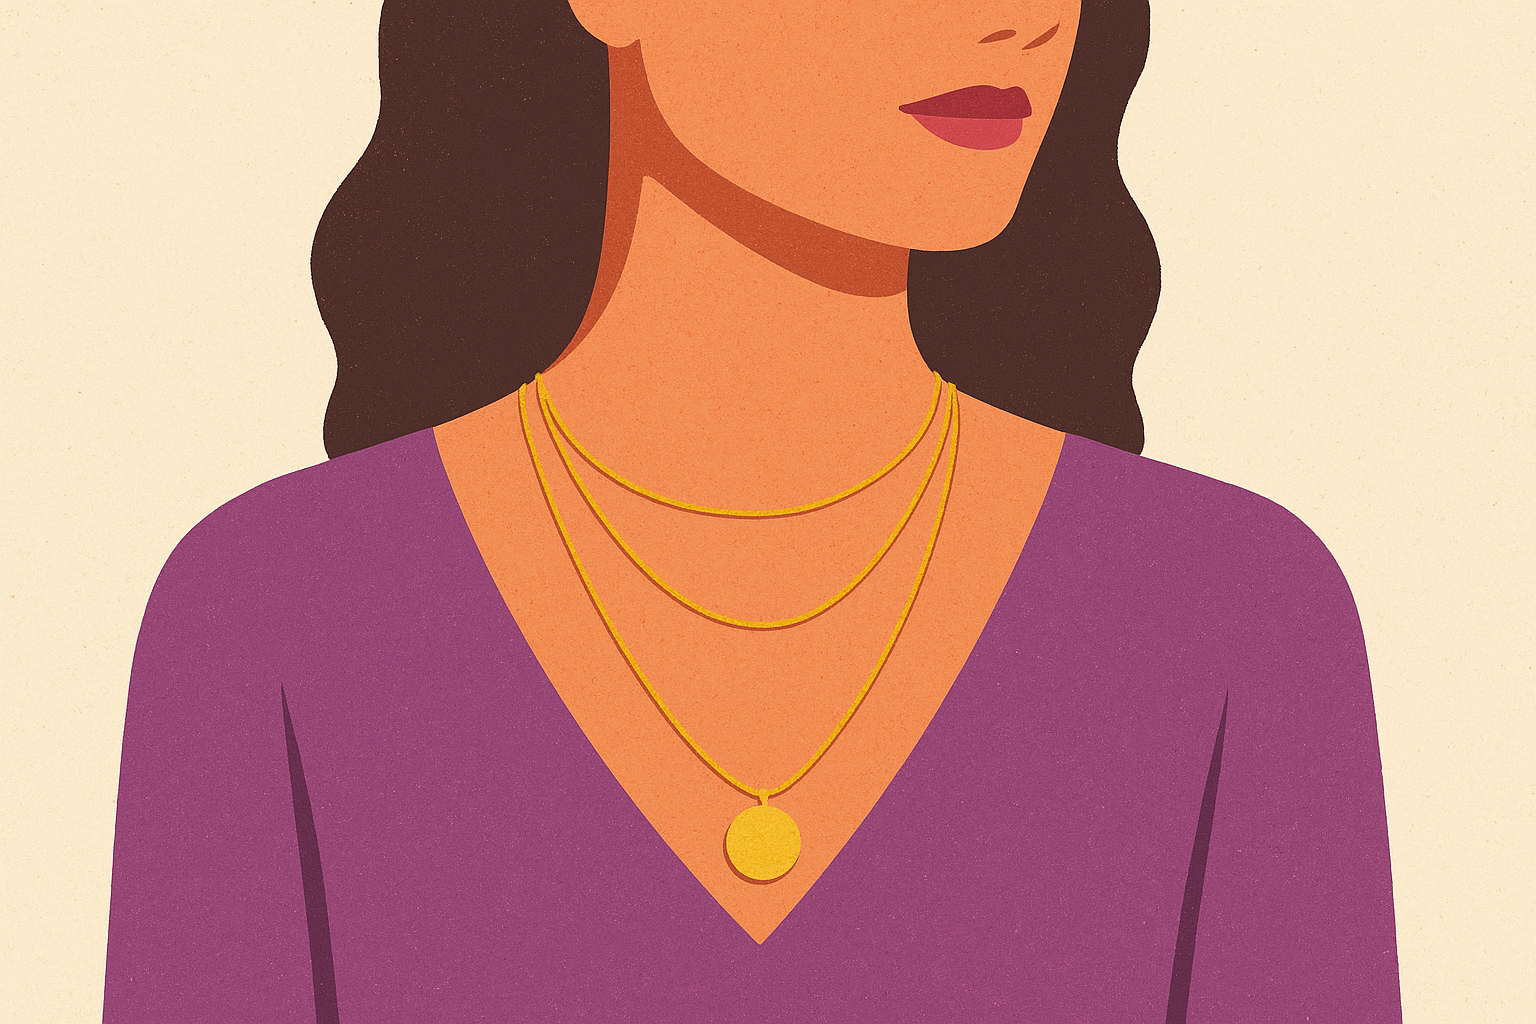
These necklines create a natural frame for your layers, giving you the most flexibility. You can wear all three layers comfortably because the open shape shows each one clearly. Position your middle layer (18 inches) right at the bottom point of the V to draw the eye down and create a flattering vertical line.
Your shortest layer (16 inches) sits above the neckline and your longest layer (20 to 22 inches) extends below it. This creates a cascading effect that follows the V-shape instead of fighting against it. Add a pendant to your middle layer to emphasize the downward flow.
Crew necks and turtlenecks
Crew necks hide your shortest layer completely, so you need to start your visible stack at 18 inches minimum. Skip the choker and begin with a pendant necklace that sits just below the collar. Your second visible layer should fall at 20 to 22 inches to create separation.
Turtlenecks demand even longer lengths (20 inches and up) because they cover more of your chest. You get the best results with just one or two longer chains that rest on top of the fabric rather than tucked underneath.
When your neckline sits high, longer chains that cascade over the fabric look intentional instead of accidental.
Button-downs and open collars
Open collars give you room to work with multiple lengths because you control how many buttons you fasten. Leave two to three buttons undone to reveal your 16-inch and 18-inch layers, or button up completely and let a single 20-inch chain fall over the fabric.
Understanding how to layer necklaces with button-downs means thinking about inside versus outside the shirt. Keep delicate chains inside against your skin and wear one statement piece on the outside for a polished look. Mixing both creates visual interest without overwhelming the structured collar.
Extra tips and tangle free hacks
You have your lengths right and your textures balanced, but your necklaces still tangle by mid-afternoon. These practical solutions address the mechanical problems that cause chains to twist and knot throughout the day. Apply these hacks and you'll spend less time untangling and more time enjoying your carefully built stack.
Use layering clasps and extenders
Layering clasps attach all your necklace chains at a single back point, preventing them from sliding around your neck and twisting together. You fasten each necklace to this small clasp instead of closing them individually. This tool works particularly well when you wear the same three-necklace combination regularly.
Extenders give you precise length control when your necklaces sit too close together. Add a two-inch extender to your middle layer to create proper separation from your base piece. You find these inexpensive additions at any jewelry supply store or online retailer.
Here's how to use a layering clasp correctly:
- Fasten your shortest necklace to the top loop of the clasp
- Attach your middle length to the second loop down
- Connect your longest piece to the bottom loop
- Clasp the converter at the back of your neck like a regular necklace closure
The backwards fastening method
You prevent tangles before they start by putting on all necklaces with clasps facing forward instead of immediately moving them to the back. Fasten each piece at the front of your neck where you can see what you're doing. Once all three clasps are closed, hold each chain separately and rotate everything to the back together in one smooth motion.
This simple technique stops chains from wrapping around each other during the fastening process.
Remove your layers the same way to prevent overnight tangles. Rotate all clasps to the front together, then unfasten each piece individually. Never yank a tangled stack over your head or you'll spend ten minutes separating twisted chains.
Store chains individually
Your necklaces tangle in your jewelry box because they touch each other. Hang each chain on a separate hook or store them in individual small pouches. Wall-mounted jewelry organizers with individual hooks solve the storage problem and let you see your full collection when building new stacks.
Fasten each necklace before storing it so the chain forms a closed loop. Open chains slide around and weave through other pieces, creating knots that damage delicate links. This one habit prevents most storage-related tangles and extends the life of your jewelry. Understanding how to layer necklaces includes knowing that proper storage is half the battle.
Simple next steps
You now know exactly how to layer necklaces without the tangling and adjusting that ruins the look. Start with three pieces in your existing collection that follow the length formula: 16 inches, 18 inches, and 20 inches. Put them on using the backwards fastening method and check that each layer sits where you want it.
Next, identify which chain styles you own and note any gaps in texture or weight. You might have three delicate chains but no statement piece to anchor your stack. Your next purchase should fill that specific gap rather than adding another similar piece to what you already own.
Build one reliable three-piece combination that works with your everyday wardrobe. Wear it for a full day to test comfort and confirm the lengths create proper separation. Once you nail this foundation stack, you can experiment with adding fourth layers or swapping pieces for different looks. Browse necklaces that complement different layering styles to expand your options and create new combinations that fit your personal aesthetic.
Leave a comment