


Stainless steel jewelry is tough, affordable, and resistant to rust, but it's not immune to buildup. Over time, oils from your skin, lotions, sweat, and everyday grime can leave your favorite pieces looking dull. The good news? Learning how to clean stainless steel jewelry at home takes just a few minutes and supplies you already have in your kitchen or bathroom.
At Ezra Gems, we know a thing or two about keeping jewelry looking fresh. Our pieces are designed to handle daily wear, showers, workouts, you name it, but proper care still matters if you want that just-bought shine to stick around. Whether you picked up your stainless steel pieces from us or somewhere else, the cleaning methods are the same.
This guide breaks down the easiest, most effective ways to clean stainless steel jewelry at home. You'll find step-by-step methods using dish soap, baking soda, toothpaste, and a few other household staples, plus tips on what to avoid so you don't accidentally scratch or damage your pieces. Let's get into it.
Before you start: know your finish and materials
Not all stainless steel jewelry is the same, and jumping straight into cleaning without checking your piece first can cause problems. A method that works perfectly on a polished stainless steel ring can leave visible scratches on a brushed-finish necklace. Before you start figuring out how to clean stainless steel jewelry, take 30 seconds to look at what you actually have in your hands.
Identify your finish type
Stainless steel jewelry comes in a few distinct finish types, and each one reacts differently to scrubbing and abrasives. Polished or mirror-finish pieces have a high-gloss, reflective surface. These handle a soft cloth and gentle cleaners well, but they show micro-scratches if you use anything rough. Brushed or matte-finish pieces have a textured, non-reflective surface created by fine abrasion. With these, rub in the direction of the grain, not against it, or you'll disrupt the pattern and create uneven marks.
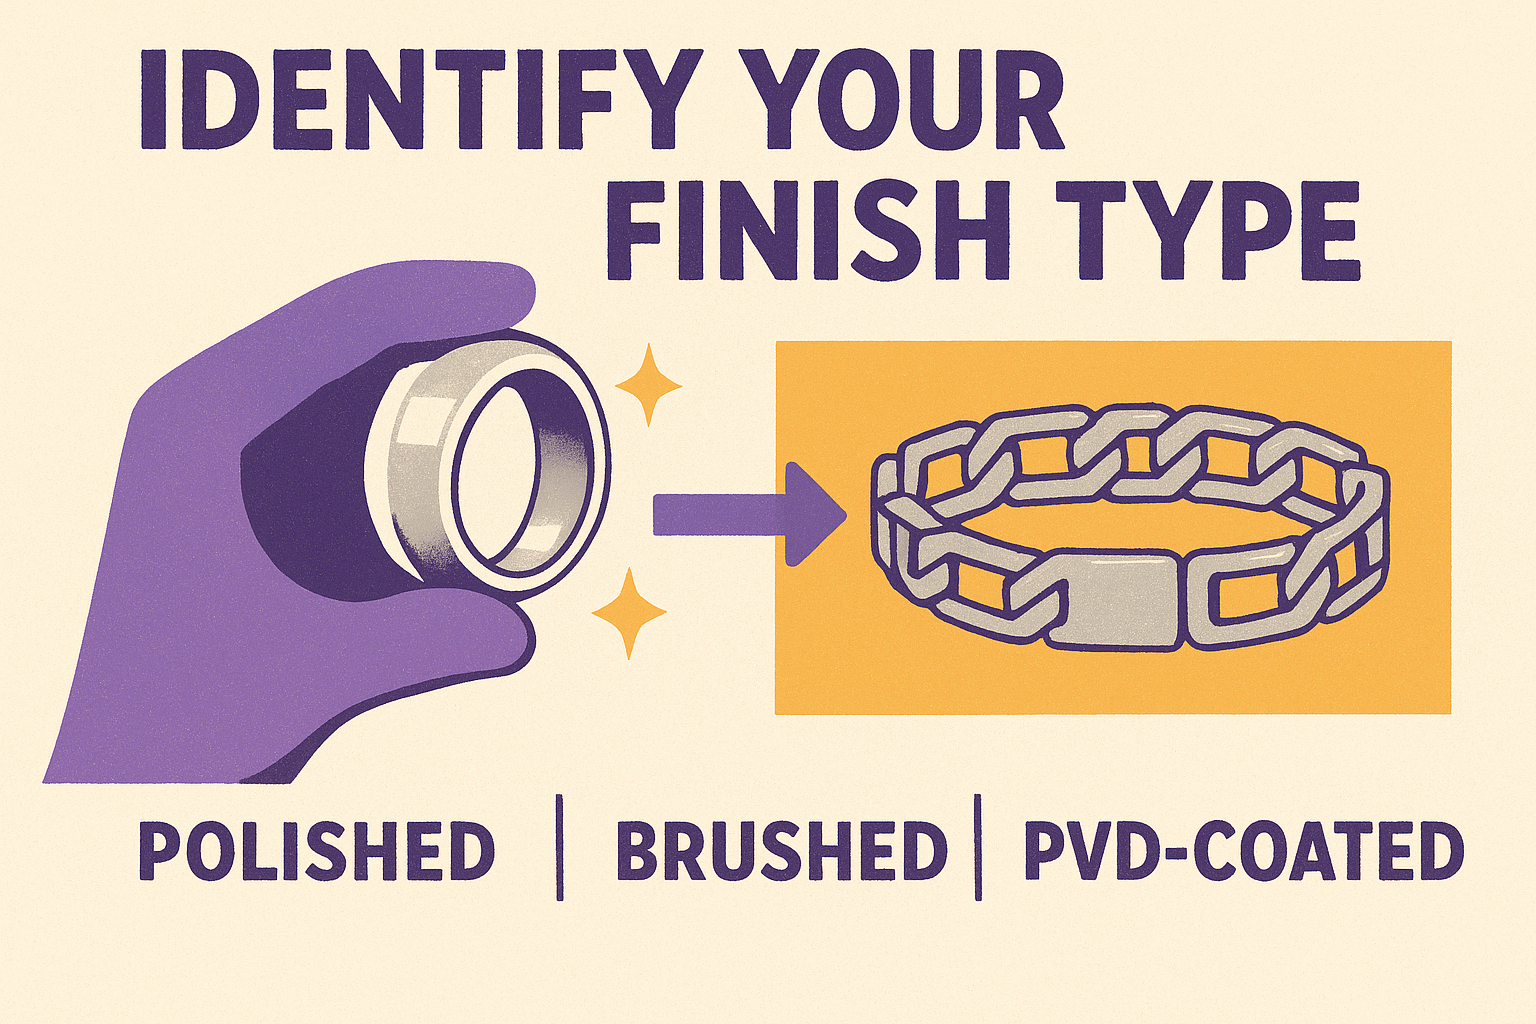
When in doubt about your finish type, hold the piece under a light and tilt it. A mirror-like reflection means polished; a soft, directional texture means brushed.
PVD-coated pieces are another category worth knowing. PVD (Physical Vapor Deposition) coating is a thin metallic layer applied to stainless steel to create colors like gold, rose gold, or black. This coating is durable but not indestructible, and it can wear down if you scrub aggressively or use harsh chemicals. Treat PVD-coated jewelry more gently than bare stainless steel, and skip abrasive pastes on those pieces entirely.
Check for mixed materials before cleaning
Many stainless steel pieces combine the base metal with other materials like cubic zirconia, natural stones, enamel, resin, or faux pearls. These additions change how you should approach cleaning. Water, baking soda, and even mild soap can dull certain stones, loosen glue holding settings, or chip enamel if you soak the piece too long or scrub too hard.
Before you clean, run your fingers across the piece and look closely for any set stones, painted surfaces, or glued-on elements. If you find them, plan to clean around those areas or use a barely damp cloth rather than submerging the whole piece. For anything with porous natural stones like turquoise or opal, skip soaking entirely since those materials absorb water and can crack or discolor over time.
A quick pre-clean checklist
Use this checklist every time before you start any cleaning method. It takes under two minutes and keeps you from making a preventable mistake.
| What to check | What to look for |
|---|---|
| Finish type | Polished (shiny), brushed (textured), or PVD-coated (colored) |
| Mixed materials | Set stones, enamel paint, resin, or glued elements |
| Existing damage | Loose settings, chips, or worn coating |
| Dirt level | Light film vs. heavy buildup, which guides your method choice |
| Supplies ready | Soft cloth, soft-bristle toothbrush, mild dish soap, lukewarm water |
Running through this list means you pick the right cleaning method for your specific piece instead of guessing. The steps that follow work well for most stainless steel jewelry, but your finish type and any mixed materials will determine how firmly you can scrub and how long you can let the piece stay wet. Keep that in mind as you move through each step.
Step 1. Wash with mild soap and warm water
The simplest approach to how to clean stainless steel jewelry is also the most effective for everyday grime. A drop of mild dish soap mixed with warm water cuts through skin oils, lotion residue, and sweat without any risk of scratching or stripping a coating. This is the method you should reach for first, before trying anything more abrasive, because it handles most buildup on its own.
What you need
You do not need any special products for this step. Everything on this list costs little or nothing and is almost certainly already sitting in your home right now.
- Mild dish soap (Dawn or a comparable brand, free of bleach or harsh degreasers)
- Lukewarm water (not hot, which can stress coatings and loosen glued settings)
- A small bowl or clean sink
- A soft-bristle toothbrush (an old one works perfectly)
- A microfiber cloth or lint-free towel for drying
Avoid dish soaps labeled "ultra-degreasing" or products that contain added bleach. These can dull polished surfaces or gradually break down PVD coatings over repeated cleaning sessions.
How to do it
Start by filling your bowl with lukewarm water and adding two to three drops of dish soap. Stir it gently to mix. Place your jewelry in the soapy water and let it soak for two to three minutes to loosen surface buildup. If your piece has set stones or glued elements, limit soaking to 30 seconds or skip it entirely and just work with a damp cloth instead.
Lukewarm water works better than cold because it helps the soap activate and lift oils more effectively, but stop short of hot since heat can stress the metal or any applied coatings.
After soaking, pick up your soft-bristle toothbrush and scrub in small, gentle circles on polished surfaces. On brushed-finish pieces, always move the brush in the direction of the grain to avoid disrupting the texture. Pay extra attention to chains, clasps, and engraved areas where oils and dirt tend to collect. Running the brush along the inside of a ring band or under a pendant bail takes only a few extra seconds but makes a noticeable difference in the final result. Keep pressure light throughout and let the soap do the work.
Step 2. Lift stubborn buildup with a gentle paste
When soap and water alone don't cut through heavy buildup, a gentle paste gives you a little extra cleaning power without jumping straight to harsh chemicals. This step works well for tarnish, dried lotion residue, or grime that has settled into textured surfaces or engravings. The key is using a paste that's mildly abrasive, not aggressively so, because stainless steel scratches if you push too hard with the wrong material.
Choose the right paste for your piece
Two household options work reliably for how to clean stainless steel jewelry with a paste method: baking soda paste and plain white toothpaste. Baking soda is a gentle abrasive that lifts oxidation and buildup without the risk of strong chemicals. Plain white toothpaste (not gel, not a whitening formula) has a similar mild abrasive quality and cleans well on polished surfaces.
Avoid whitening toothpastes since they contain stronger abrasive particles that can scratch polished stainless steel and wear down PVD coatings faster than you'd expect.
Here's a quick comparison to help you decide which paste fits your piece:
| Paste type | Best for | Avoid using on |
|---|---|---|
| Baking soda + water | Brushed-finish, plain stainless steel | PVD-coated pieces, set stones |
| Plain white toothpaste | Polished stainless steel surfaces | Gel or whitening formulas, enamel details |
How to apply the paste
Mix one teaspoon of baking soda with just enough water to form a thick paste, roughly the consistency of peanut butter. If you're using toothpaste, squeeze a small amount directly onto your toothbrush with no mixing required. Apply the paste to your piece using a soft-bristle toothbrush and scrub gently in small circular motions on polished surfaces, or along the grain on brushed finishes.
Work the paste into crevices, chain links, and engraved details where buildup tends to collect. Keep your pressure light throughout the entire process. You only need to scrub for 60 to 90 seconds on any given area before the paste has done its job. Scrubbing longer than that doesn't improve the result and raises the chance of creating micro-scratches across the surface.
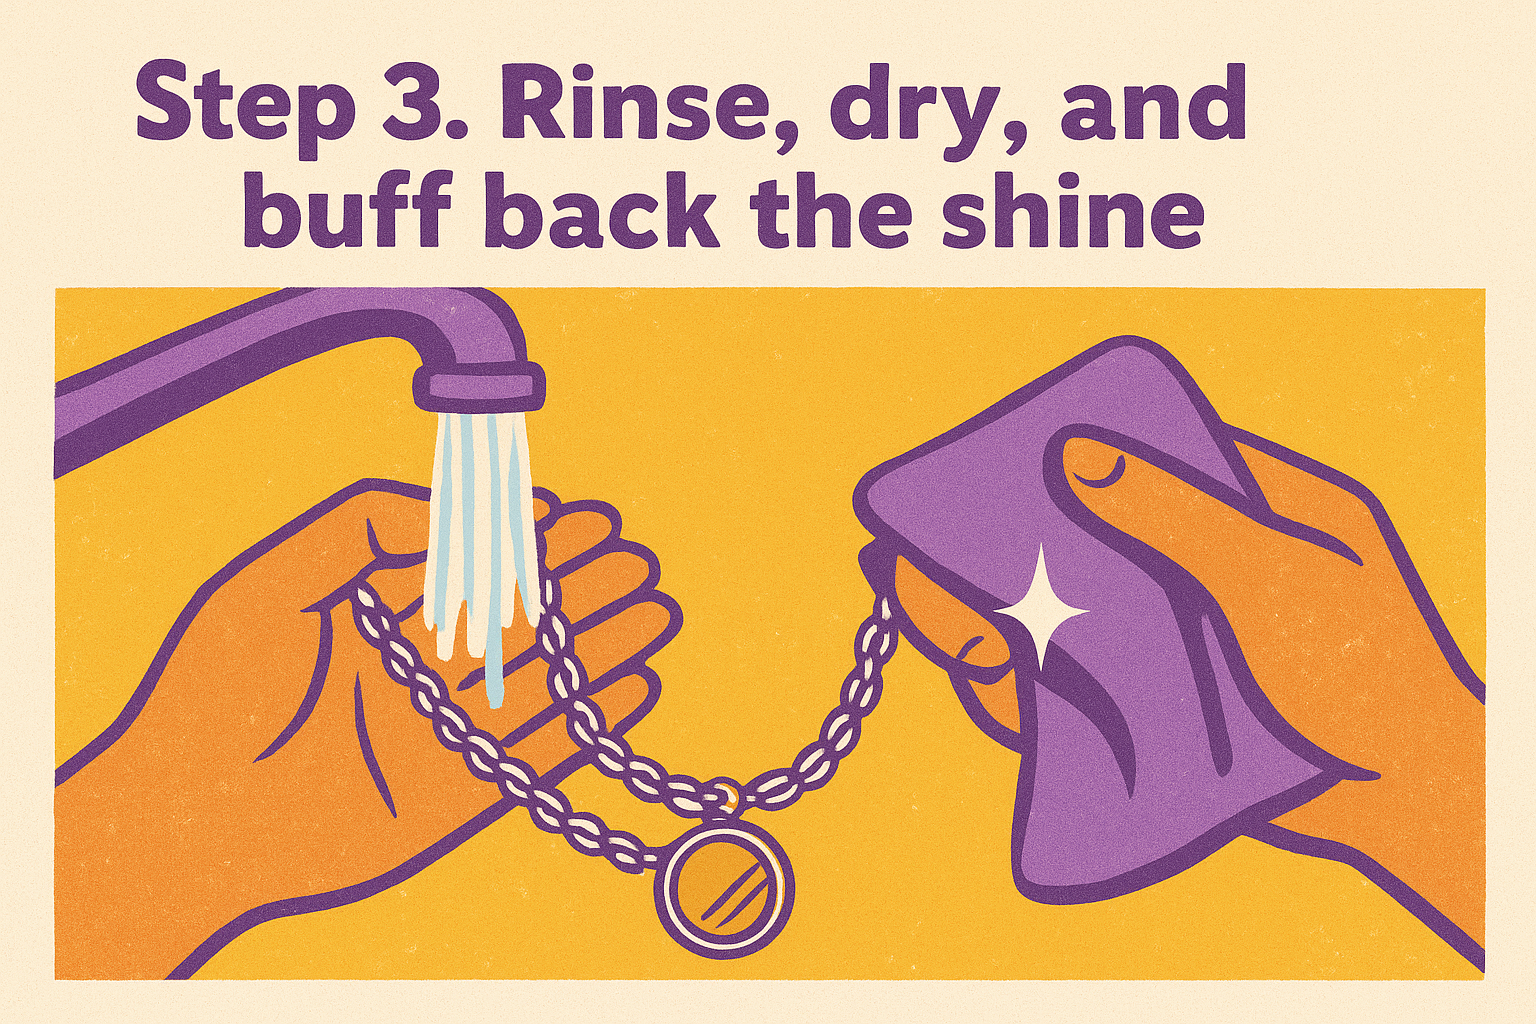
Step 3. Rinse, dry, and buff back the shine
Rinsing and drying are the steps most people rush through, and that's exactly where problems start. Leftover soap or paste residue dries into a cloudy film on the surface, and moisture sitting in crevices or along chain links can encourage the kind of buildup you just worked to remove. Taking an extra two minutes here is what separates jewelry that looks truly clean from jewelry that just looks slightly less dull.
Rinse until the water runs clear
Hold your piece under lukewarm running water and rotate it so every surface gets rinsed, including the back of any pendants, the inside of ring bands, and along each chain link. If your piece has set stones or glued elements, avoid direct water pressure on those areas. Instead, use a clean damp cloth to wipe them down gently without soaking them. Keep rinsing until you see no soap bubbles or paste residue in the water coming off the piece, which usually takes about 20 to 30 seconds of steady rinsing per side.
Skipping a thorough rinse is one of the most common mistakes people make when learning how to clean stainless steel jewelry, since dried residue creates a dull, uneven appearance that can look worse than the original grime.
Dry immediately and buff to finish
Pat your jewelry dry with a lint-free microfiber cloth right after rinsing. Do not let it air dry on a counter, since water spots form quickly and leave visible mineral deposits, especially on polished surfaces. After patting away most of the moisture, take a dry section of the same cloth and buff the piece using small circular motions on polished finishes, or straight strokes along the grain on brushed finishes.
Buffing takes about 20 to 30 seconds per piece, and you'll see the difference right away. Polished stainless steel responds particularly well to this step and picks up a near-mirror shine with very little effort. For PVD-coated pieces, use a lighter hand during buffing since the goal is lifting away remaining water and restoring the surface's natural luster, not creating friction that wears down the coating over time.
Step 4. Prevent dullness: daily habits and storage
Cleaning your jewelry removes the buildup that's already there, but daily habits and proper storage are what keep it from coming back quickly. Most stainless steel jewelry loses its shine not from wear itself but from repeated contact with products and surfaces that slowly coat the metal. A few small adjustments to how you handle and store your pieces can cut down your cleaning frequency significantly.
Small habits that protect your jewelry daily
The biggest source of dullness on stainless steel is product buildup. Lotions, perfumes, sunscreens, and hair sprays all leave a thin residue on metal surfaces that accumulates into a visible film over time. The simple fix is to put your jewelry on last, after you've applied any products and let them absorb or dry. That single habit removes the main cause of buildup for most people.
Taking your jewelry off before swimming, working out, or doing dishes also extends the time between cleanings, since chlorine, saltwater, and detergents accelerate surface buildup even on stainless steel.
When you take your pieces off at the end of the day, give each one a quick wipe with a dry microfiber cloth before putting it away. This takes about five seconds per piece and removes the layer of skin oils and sweat that would otherwise dry onto the surface overnight.
How to store stainless steel jewelry the right way
Storage matters more than most people realize when it comes to how to clean stainless steel jewelry less often. Tossing pieces into a shared dish or drawer lets them rub against each other, which creates micro-scratches on polished finishes over time. Keeping each piece separate is the most effective thing you can do for long-term appearance.
Use this quick reference to match your storage method to your situation:
| Storage option | Best for | Avoid |
|---|---|---|
| Fabric-lined compartments | Daily wear pieces, rings, earrings | Open trays with no dividers |
| Zip-close pouches | Travel storage, delicate chains | Storing multiple chains together |
| Hanging organizers | Necklaces and longer chains | Humid bathrooms or windowsills |
| Anti-tarnish strips | Long-term storage, infrequent wear | Sealed bags without ventilation |
Keep your storage spot away from humidity and direct sunlight, both of which can speed up surface changes even on durable metals.

Keep your stainless steel jewelry bright
Knowing how to clean stainless steel jewelry gives you a real advantage in keeping your pieces looking their best without spending money on professional cleaning. The four steps in this guide, soap and water, gentle paste, thorough rinsing, and smart storage, cover everything you need. Stick with them consistently and your jewelry will hold its shine far longer than if you cleaned it only when things looked obviously dull.
Building the routine into something you already do removes most of the work before it starts. A quick wipe before putting pieces away each night and keeping them stored separately handles the majority of buildup on its own. Your jewelry handles daily wear well when you treat it right, and a few minutes of care each week beats a long cleaning session every month.
If you're looking for pieces built to handle your daily routine, browse the Ezra Gems bestsellers to find styles designed to last.
Leave a comment