


You spent twenty minutes building the perfect necklace stack. Three pieces that look amazing together. Then you move your head and they twist into a knotted mess around your neck. Sound familiar?
Tangled layers happen when chains slide over each other and catch. The good news is you can prevent this without spending money on fancy tools or complicated systems. A few smart choices about length, weight, and placement make all the difference.
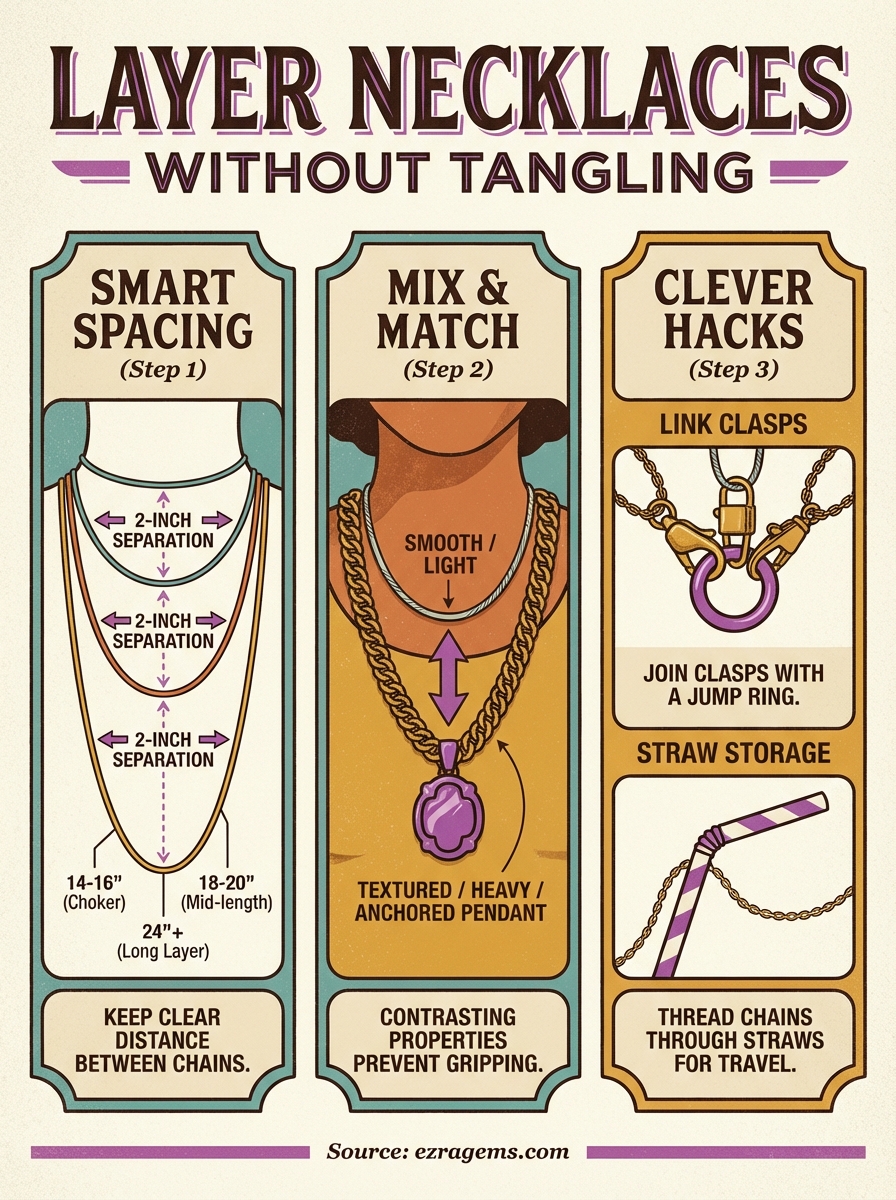
This guide walks you through three practical steps that keep your necklaces separated and tangle free. You'll learn which lengths work best together, how mixing textures prevents chains from grabbing each other, and simple hacks like connecting clasps that actually work. We'll also cover everyday tips for putting on and taking off your stacks without creating knots. By the end, you'll know exactly how to build layered looks that stay perfect all day.
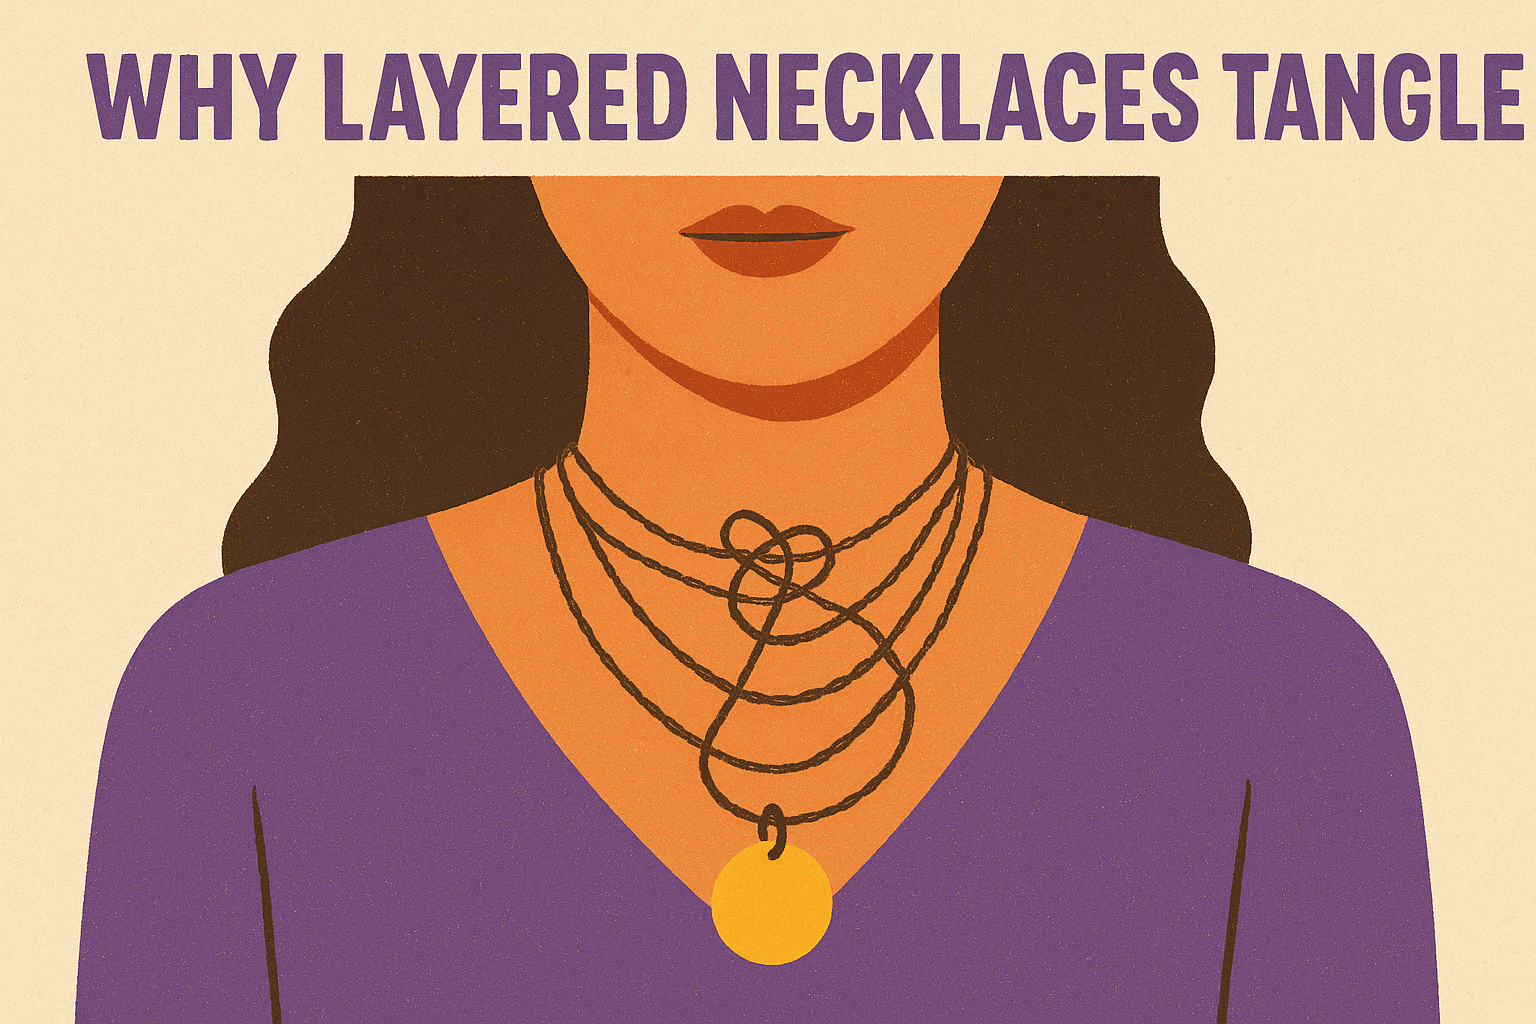
Why layered necklaces tangle
Tangling happens when chains slide across each other and their links catch or twist together. The more your necklaces overlap in the same space, the more opportunities they have to interact and create knots. Most people assume tangling is random, but it follows predictable patterns based on how chains behave against each other.
Similar chains create the most problems
When you wear necklaces with identical or very close lengths, they compete for the same position on your chest. The chains constantly bump into each other as you move, and their links start to wrap around one another. Matching weights make this worse because both necklaces move at the same speed and rhythm, creating more contact points throughout the day.
Chains with similar textures grab each other more easily than different types. Two delicate cable chains will twist together quickly, while a chunky curb chain next to a thin box chain naturally separates. The smooth surfaces on similar chains have nothing to prevent them from sliding and catching.
Chains that share the same properties move together and tangle together.
Your movement drives the chaos
Every time you turn your head, bend forward, or shift your shoulders, your necklaces swing and rotate. This constant motion causes chains to cross over each other and catch on clasps or pendants. Walking creates a bouncing rhythm that makes lightweight chains flip and twist, while activities like reaching or leaning multiply these movements.
Body heat and friction from your skin and clothing keep chains moving against each other even when you sit still. The combination of your natural movements plus environmental factors means chains interact hundreds of times throughout a normal day.
Step 1. Choose the right lengths and order
The most effective way to prevent tangling starts with proper length separation between each necklace. When you space your chains correctly, they occupy distinct zones on your chest and rarely interact. This single strategy eliminates most tangling problems before they start.
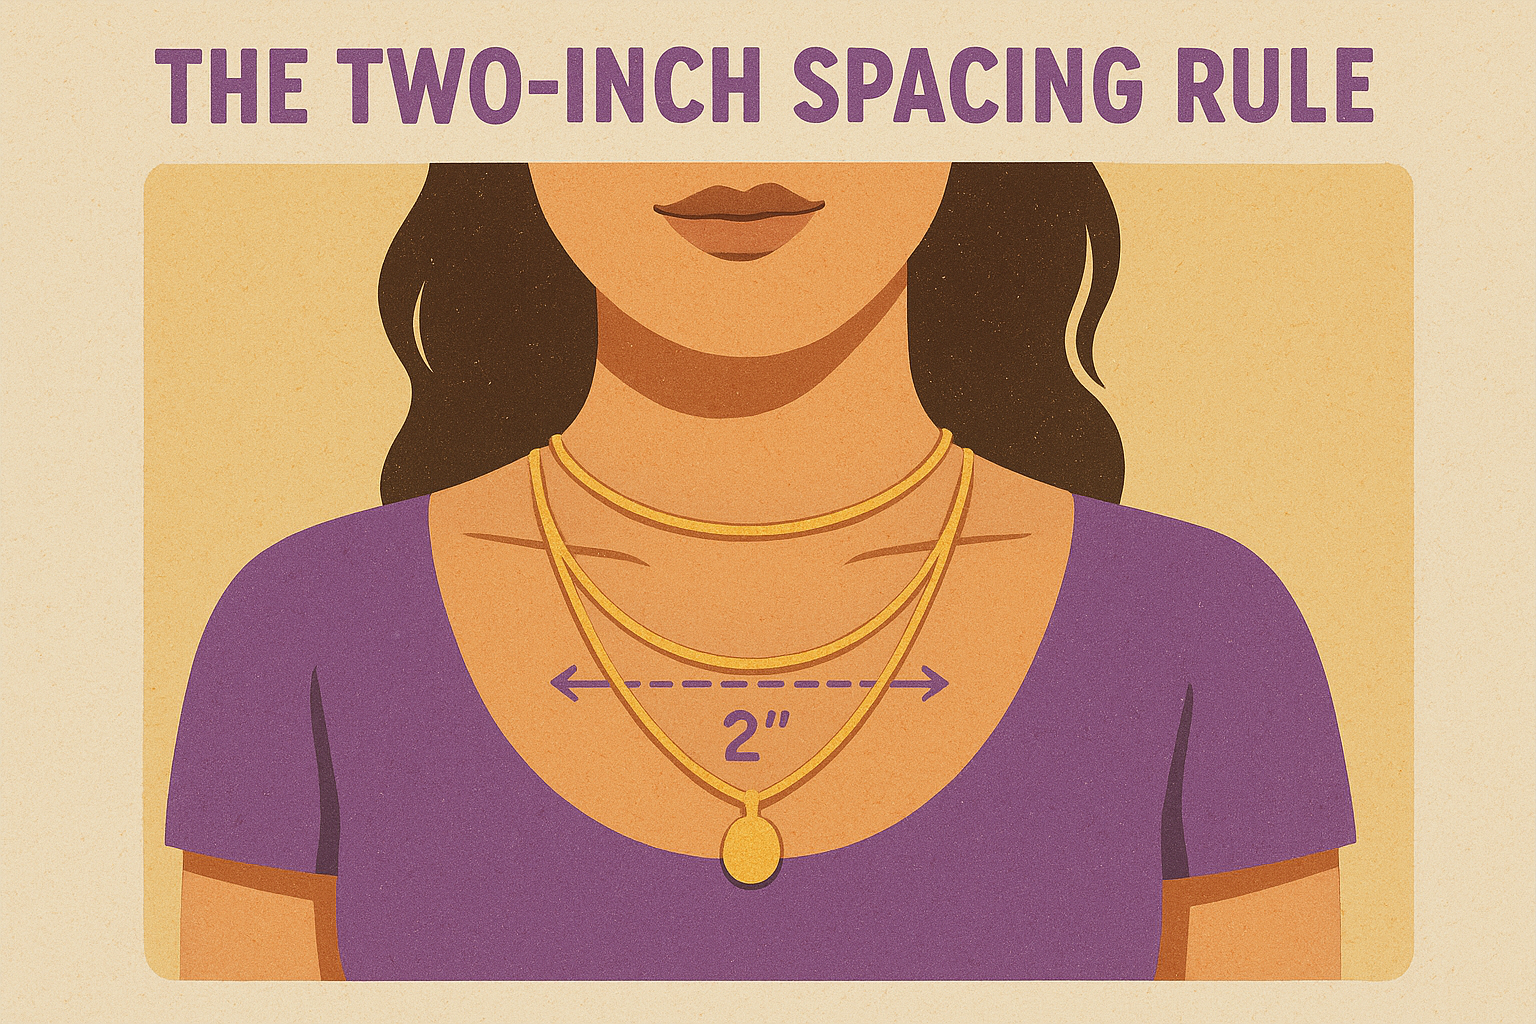
The two-inch spacing rule
Keep at least two inches between each necklace length to create clear separation. This spacing prevents chains from overlapping in the same area where they can catch and twist. A 16-inch choker paired with an 18-inch chain and a 20-inch pendant follows this rule perfectly. Each piece sits in its own space without touching the others.
Here are the standard lengths that work together:
- 14 inches: Sits high on the neck (choker style)
- 16 inches: Rests at the collarbone
- 18 inches: Falls just below the collarbone
- 20 inches: Reaches the top of the chest
- 24 inches: Drops to the breastbone
- 28-30 inches: Creates a dramatic long layer
You can adjust these measurements based on your neck size and torso length. The goal is consistent spacing rather than hitting exact measurements. If your first necklace sits at 15 inches, make your second 17 inches and your third 19 inches.
Proper spacing eliminates overlap and keeps chains separated in their own territory.
Start with your focal piece first
Put on your statement or focal necklace before adding the supporting layers. This piece typically has a pendant or charm and sits at 18 or 20 inches where it draws attention. Once it's positioned correctly, you add shorter and longer pieces around it.
Your shortest piece goes on next because it sits closest to your neck and stays relatively still. The longest chain goes on last since it has the most movement and needs to hang freely without interference. This top-down-middle approach when learning how to layer necklaces without tangling keeps each piece in its assigned position.
Test your stack by moving your head and shoulders. Chains should swing independently without touching. If two pieces constantly bump together, adjust one length by adding or removing links, or swap it for a different necklace with better spacing.
Step 2. Mix weights, textures, and pendants
Combining necklaces with different physical properties creates natural separation that prevents tangling. When chains have contrasting weights and textures, they move at different speeds and resist catching on each other. This approach works alongside proper length spacing to build stable, tangle-free stacks.
Pair heavy with light chains
Match a substantial, weighty chain with delicate, thin pieces to create physical separation. A chunky curb chain or thick rope chain stays anchored in place while lighter chains move freely above or below it. The heavier piece acts as a foundation that prevents the entire stack from shifting and twisting together.
Layer a bold statement necklace at your longest length with thin cable chains at shorter lengths. The weight difference keeps each piece moving independently. You can also position your heaviest chain in the middle layer to anchor the entire stack between the top and bottom pieces.
Contrasting weights naturally separate chains because they respond differently to movement and gravity.
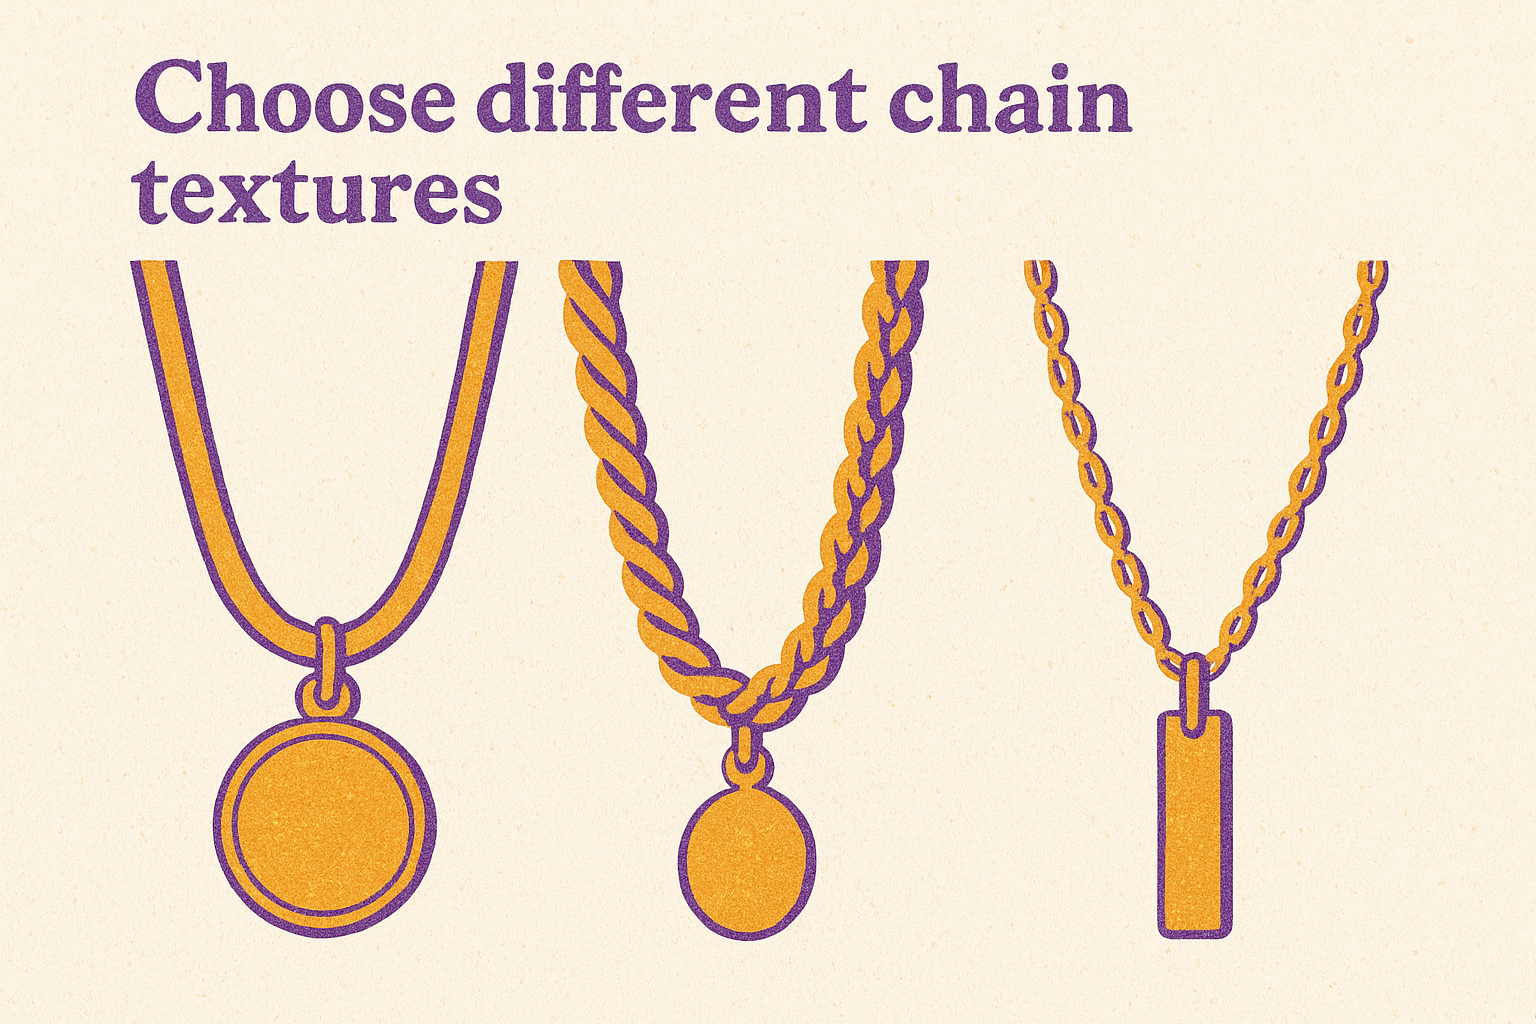
Choose different chain textures
Mix chain styles with distinct textures that won't grip each other. A smooth snake chain paired with a twisted rope chain and a delicate box chain creates variety that prevents links from catching. Each texture has different surface properties that naturally slide past one another instead of interlocking.
Effective texture combinations include:
- Smooth chains (snake, omega) with textured chains (rope, figaro)
- Flat chains (herringbone) with round chains (ball, cable)
- Link chains (curb, paperclip) with mesh or woven styles
Avoid pairing multiple identical chain types at different lengths. Two thin cable chains will tangle even with perfect spacing, while a cable chain, a figaro chain, and a rope chain stay separated.
Add pendants strategically
Pendants and charms add weight and stability to any layer, reducing how much that chain moves and twists. Place your largest pendant on your middle or longest chain to anchor your stack. Smaller charms on shorter chains add visual interest without creating tangling problems.
Position pendant necklaces at odd-numbered lengths (17, 19, 21 inches) so they fill gaps between your even-length chains. This strategy maximizes spacing when you learn how to layer necklaces without tangling. The pendant drops to its own zone while the chain portion sits higher, creating multiple separation points throughout your stack.
Step 3. Use clasps and hacks that keep layers in place
Beyond choosing the right lengths and mixing textures, you can use physical connections and simple tools to lock your necklaces into position. These practical hacks stop chains from sliding around your neck and crossing into each other's space. You don't need expensive specialty products when basic jewelry supplies and household items work just as well.
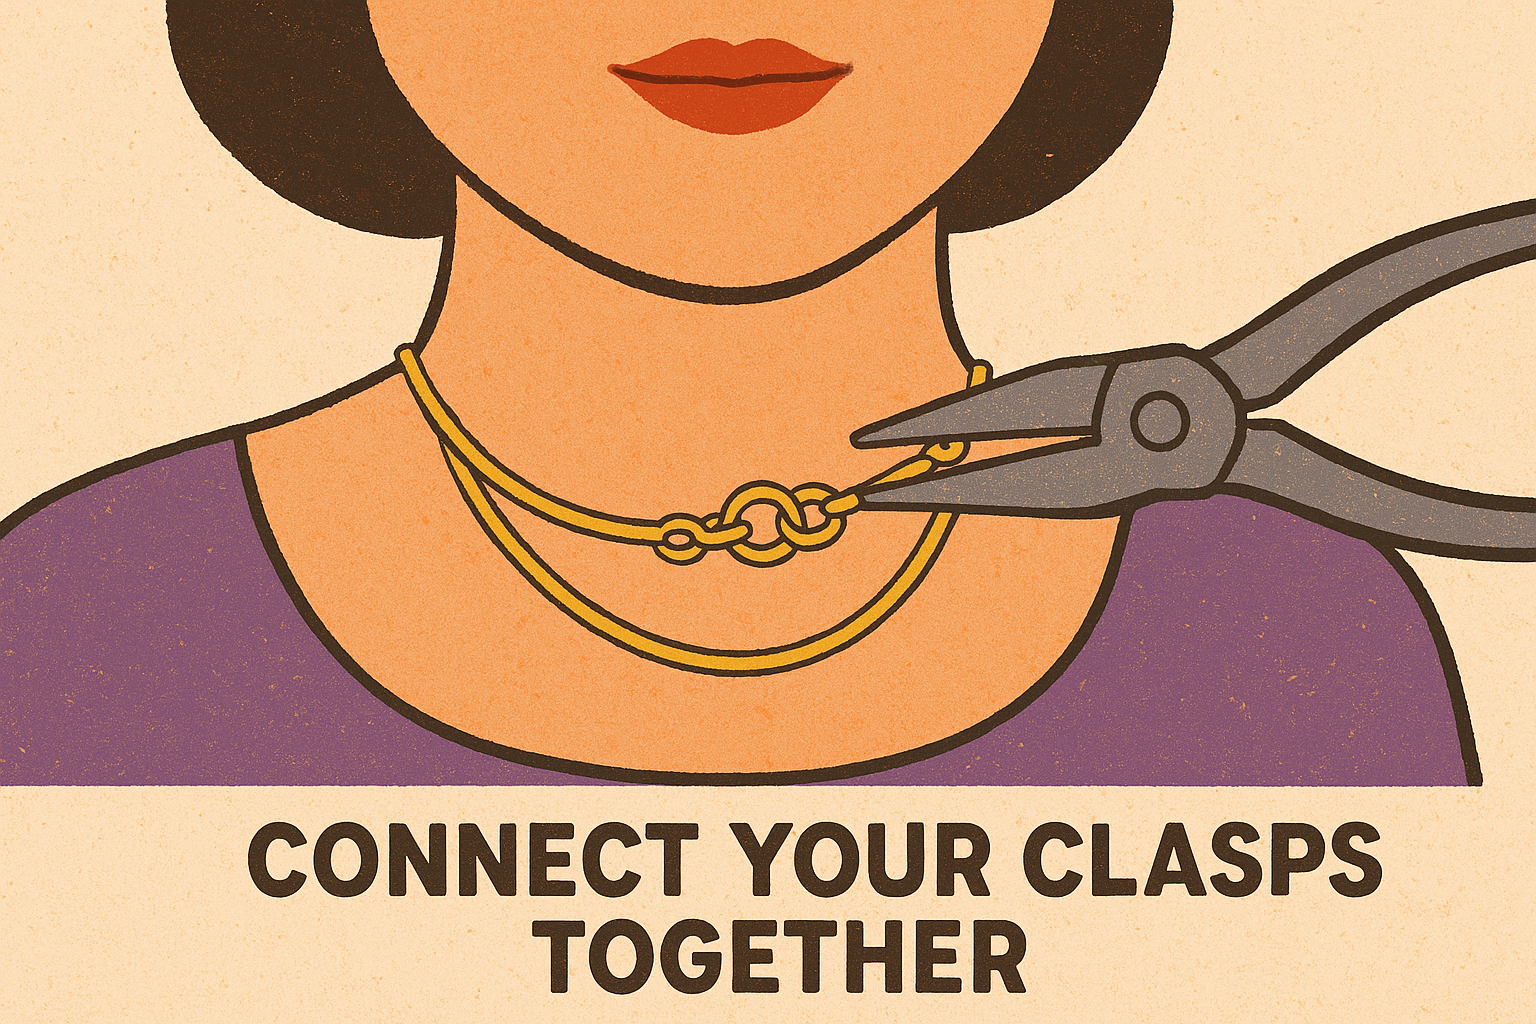
Connect your clasps together
Attach all your necklace clasps to a single jump ring to bind them at one connection point. This technique keeps your chains anchored together at the back of your neck while allowing each piece to hang freely in front. Purchase 4-6mm jump rings from any craft store and slip your clasps through before closing the ring with jewelry pliers.
When you connect clasps this way, your necklaces can't rotate independently around your neck. The unified connection point prevents the twisting motion that causes tangling when you move your head. This hack works best with two or three necklaces since too many clasps create bulk at the back of your neck.
Alternatively, fasten your second necklace's clasp directly to your first necklace's chain instead of around your neck. Close the clasp around a link near the back, creating a connected layered system. Add your third necklace by clasping it to the second chain. This method guarantees fixed spacing when learning how to layer necklaces without tangling.
Connecting clasps creates a unified system where chains move together instead of independently tangling.
Thread chains through a straw for storage
Cut a plastic drinking straw into 3-4 inch segments and thread each necklace through its own straw piece before clasping it closed. The straw holds the chain straight and prevents links from wrapping around each other during travel or storage. Drop these protected necklaces into your jewelry box or travel case without worry.
This trick also works when you pack necklaces in luggage. Each strawed chain stays tangle-free even when tossed together in a pouch. Once you arrive at your destination, remove the straws and your necklaces are ready to wear with zero untangling time required.
Adjust with necklace extenders
Add chain extenders to fine-tune lengths and create perfect spacing between layers. These small chains (usually 2-4 inches) attach to your clasp and let you customize each necklace's length without permanent alterations. Buy extenders in your preferred metal finish and keep several on hand for adjusting different pieces.
Position extenders on your middle-length necklaces to push them into ideal spacing between your shortest and longest pieces. You can also remove extenders when you wear necklaces solo, making them versatile for both layered and single wear. This flexibility means you never commit to a fixed length that only works in stacks.
Extra tips for tangle free everyday stacks
Beyond the core techniques for how to layer necklaces without tangling, a few daily habits make maintaining your stacks effortless. These practical tips focus on putting on, taking off, and storing your necklaces to prevent tangles from forming in the first place. Small adjustments to your routine keep your favorite combinations ready to wear without frustration.
Put necklaces on in the right order
Start with your longest chain first, then work your way up to the shortest piece. This bottom-up approach prevents shorter necklaces from swinging over longer ones as you fasten each clasp. Lean forward slightly while putting on each piece so chains fall away from your neck and stay separated.
Fasten each clasp before moving to the next necklace instead of draping multiple chains around your neck at once. This controlled process keeps chains from crossing and wrapping around each other during the dressing process.
Take your stack off as one unit
Remove all necklaces together by unfastening clasps while wearing them instead of pulling pieces over your head. Grasp all your chains in one hand at the front while you work the clasps with your other hand. This method prevents chains from sliding and twisting as you remove them.
Removing necklaces together maintains the spacing you created and prevents new tangles from forming.
Store layered sets together
Keep your favorite combinations pre-assembled in separate pouches or on individual hooks in your jewelry box. This strategy eliminates the need to rebuild stacks each morning and ensures your carefully spaced layers stay intact. Fasten all clasps before storing so chains remain straight and separated.
Final thoughts
Learning how to layer necklaces without tangling comes down to smart spacing, mixed textures, and simple connection methods. When you space chains two inches apart, pair heavy pieces with delicate ones, and connect clasps together, you build stacks that stay separated throughout your day. These techniques work with any necklaces you already own, and you don't need special tools or expensive accessories.
Practice with two necklaces first before adding a third or fourth layer. Master the basics of length separation and weight mixing, then expand your stacks as you gain confidence. Your movements and daily activities will test your combinations, showing you which pairings work best for your lifestyle.
Ready to build your perfect tangle-free stack? Browse our collection of necklaces designed to layer beautifully together, featuring varied lengths and styles that make creating stunning combinations effortless.
Ready to shop? Explore the Necklaces collection — waterproof, hypoallergenic, and tarnish-free, built for everyday wear.
Leave a comment